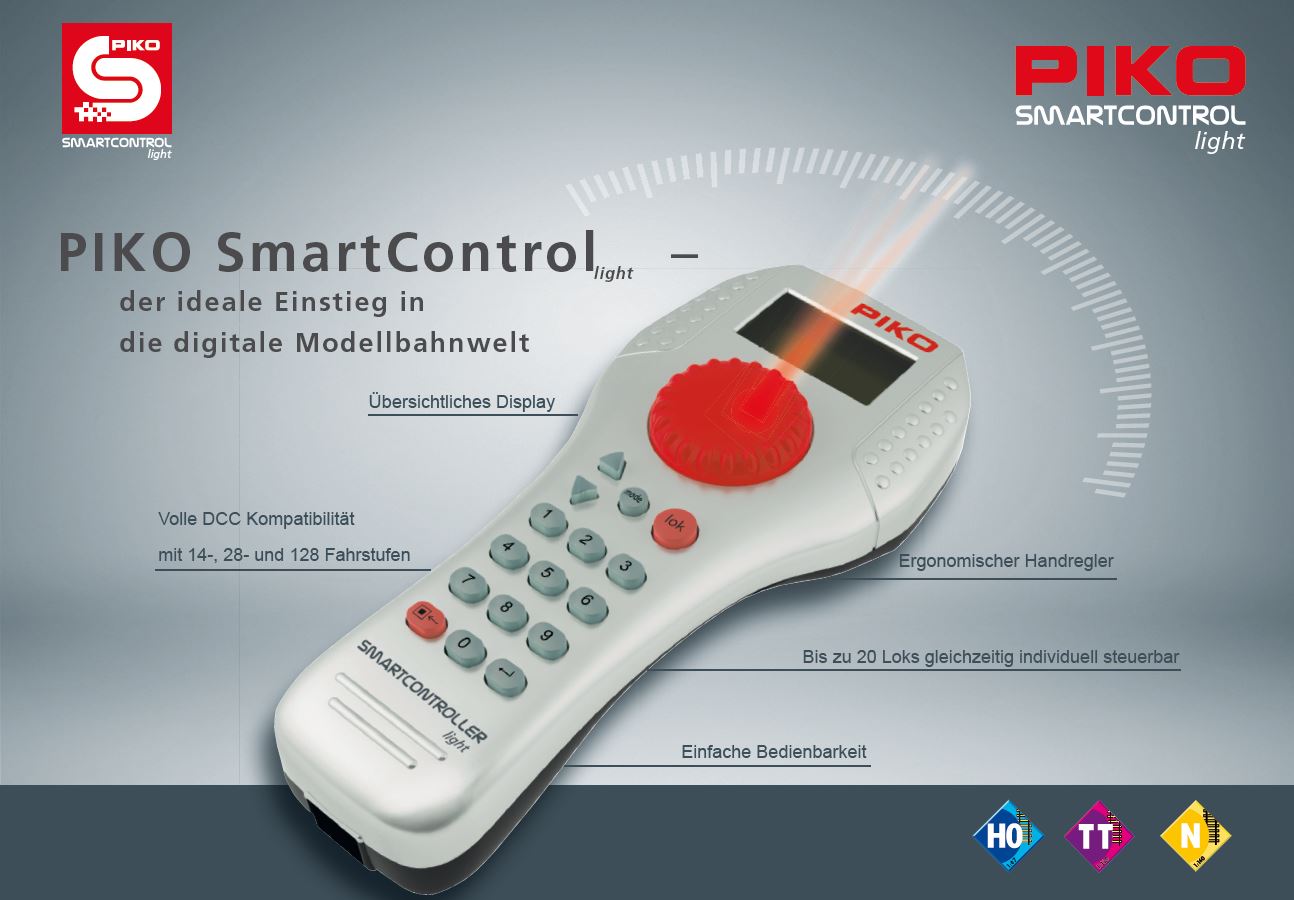
Information / download area PIKO SmartControllight

1) Manual:
- PIKO SmartControllight Quick Manual / Schnellanleitung


 (Stand 06/2018 | .pdf File | ca. 1,5 MB )
 - PIKO SmartControllight Manual / Anleitung


(Stand 06/2018 | .pdf File | ca. 6 MB ) - PIKO SmartControllight ausführliche Anleitung / detailed manual


 (Stand 06/2018 | .pdf File | ca. 6 MB )
2) FAQ / Help:
How can I remove the key lock of the PIKO SmartControllerlight? (Key lock / Lock symbol on the display)
The function of the PIKO SmartControllerlight can be restricted to turning the track power on or off. All other functions as well as the [Lok] key are deactivated in this operating state.
In this state, you can only control the currently activated loco and all their function and turn the track power on or off via the [Stop / Delete ] key. When the key lock is activated, the display shows a lock symbol.
The key combination to lock and unlock the PIKO SmartControllerlight is:
[Mode]- key + key [0]

How can I program PIKO Decoder for Servo-Machines (#55274) and Under-Table Servo Switch Machine (#55272) with the PIKO SmartControllight?
Example:
You want to operate a servo machine at the output 1 with the address 1.
Programming with the PIKO SmartControllight
1. Start of the programming procedure (Decoder)
Push the programming button on your decoder. The LED next to the programming button will flash and the decoder is in programming mode.
2. Choose data format (Decoder)
The DCC data format is set when both LEDs on the servo inputs 1 and 2 flash.
If the LEDs of the servo inputs 3 and 4 flash, the Motorola data format is set.
First, the LED 1 & 2 will flash, after a few seconds LED 3 & 4 and so on.
The programming key has to be pressed when the LEDs show the desired data format.
Attention: If the wrong data format is chosen, the decoder will not react to any keystrokes on the digital central station or any other control unit for magnetic accessories.
3. Determination servo output (Decoder)
Choose the servo output you want to program e.g. Servo 1
To do that, push the programming button until the desired servo output flashes.
4. Assign magnetic accessories (PIKO SmartControllight)
Push the „mode“ button of the PIKO SmartControllerlight and then the key “2” to assign magnetic accessories.
5. Confirm address (PIKO SmartControllight)
Confirm the address 1 with the hand controller of the PIKO SmartControllerlight . The servo decoder will confirm the assigned address with a short twitch of servo 1.
6. Pre-setting adjust servo [+] (PIKO SmartControllight)
Next, confirm the chosen accessory by pressing the “2” key which is then defined as [+]. The servo decoder will confirm the assigned address with a short twitch. (Attention, you don’t always have to choose the subsequent number. For example, if you want to assign another address to a magnetic accessory, you can choose any desired number.
7. Pre-setting adjust servo [-] (PIKO SmartControllight)
Next, confirm the chosen accessory by pressing the “3” key which is then defined as [-]. The servo decoder will confirm the assigned address with a short twitch.
8. Adjust servo
Now you can set the right and left stops of the servo.
Setting of the first stop:
The programming of the servo starts from the middle position (see instruction manual servo machine #55272). Now you can use the keys [+] and [-], which you have set in steps 6 and 7, to bring the rod in the desired position. Confirm the desired position by pressing 1 (or an alternative address). Afterwards, the servo resets to the middle position. (Attention: if you assigned the address 3 to the magnetic item instead of 1, you also have to confirm by pressing 3!)
Setting of the second stop:
Like in the previous step you can now set the end position with the keys [+] and [-].
Now, confirm 6 times with the address 1 (or alternative address) so the servo rests 6 times on the left and 6 times on the right. Your magnetic accessory is now programmed!
Now, the program automatically changes to the positioning speed settings.
9. Setting the positioning speed (PIKO SmartControllight)
The positioning speed is displayed by the servo moving back and forth between the two stops. By pressing [+] and [-] (defined in steps 6 and 7) you can set the positioning speed.
10. Complete programming (PIKO SmartControllight)
Press address 1 (or alternative-address) again to complete the programming.
The programming is complete when the programming LED stops flashing.
Attention: If the power supply is cut off before the programming is complete or any other error occurs, the settings are not saved.
11. Programming of servo 2
Repeat steps 5 to 10 with different addresses (e.g. 2, 3, 4, 5, and so on …).
3) Brochures:
Brochure:
